Getting Started with Probo.CI for WordPress
We often talk about Probo in regards to Drupal development because we do a lot of Drupal work at Zivtech. We originally built Probo to eliminate bottlenecks in our development workflow on our Drupal projects, but it can also be used to test any PHP and MySQL based application like WordPress or any other LAMP based CMS platforms.
There aren’t many specialized tools in the WordPress development community for continuous collaboration and testing yet, so we wanted to spread the love. Enter Probo.CI for WordPress! Let’s get started.
Setting Up a Probo Enabled Repository
We typically use GitHub to store our code repositories, but Probo can also use Bitbucket repositories. The examples in this post are specific to GitHub, but we also have examples available for Bitbucket at the bottom of this post.
To setup your Probo enabled GitHub repository, you need to have a public or private GitHub repository that you are the owner or admin of. Once you have this access, you can sign up for Probo.CI, if you haven’t already, to Activate Repos. Probo.CI will use your existing GitHub login to OAuth your user to the Probo app. At this point, you can move on to activating a repository.
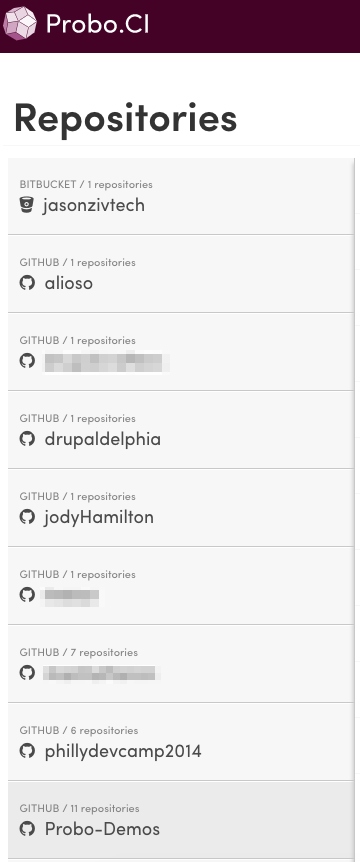
Activating a Repository in the Probo App
Once you have successfully logged into the Probo app, you will need to activate the repository you want to work on through the Probo app user interface. Below is a screenshot of the big green button labeled “Activate repos.” Click this button to view the repos that are available to sync to your Probo account.

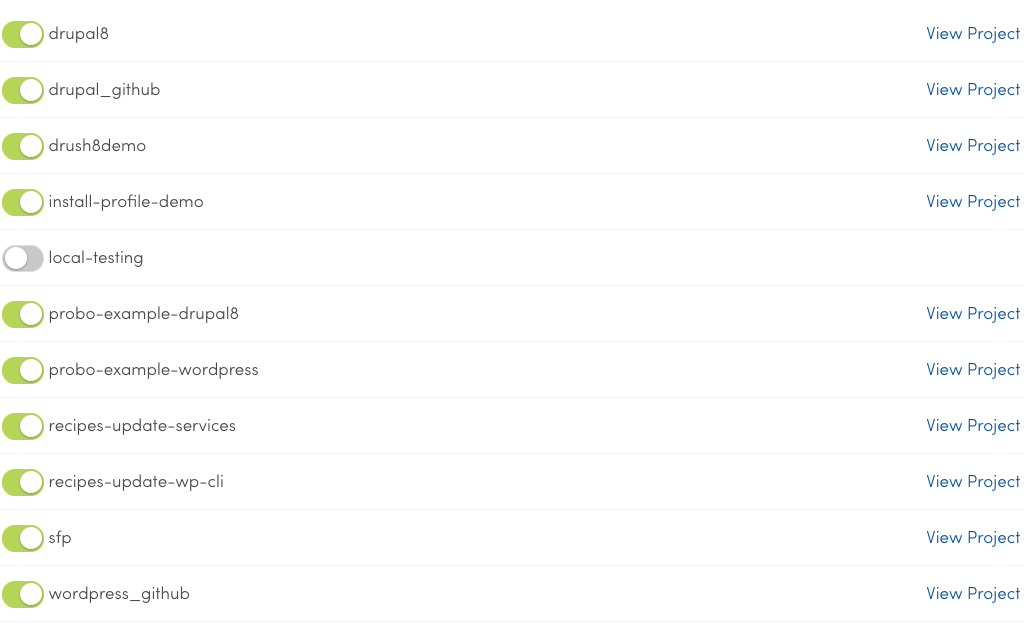
This will call out to GitHub’s API and grab all of the organizations and user accounts with sufficient access and list them by organization name or user account name. You can also see the difference between Bitbucket or GitHub organizations and users in the list. They are labeled and have the bucket or octocat logo next to the organization or account name.
To enable a repository, click on the toggle button next to the repository in the list so that it turns from grey to green. You are now ready to start creating your .probo.yaml file.
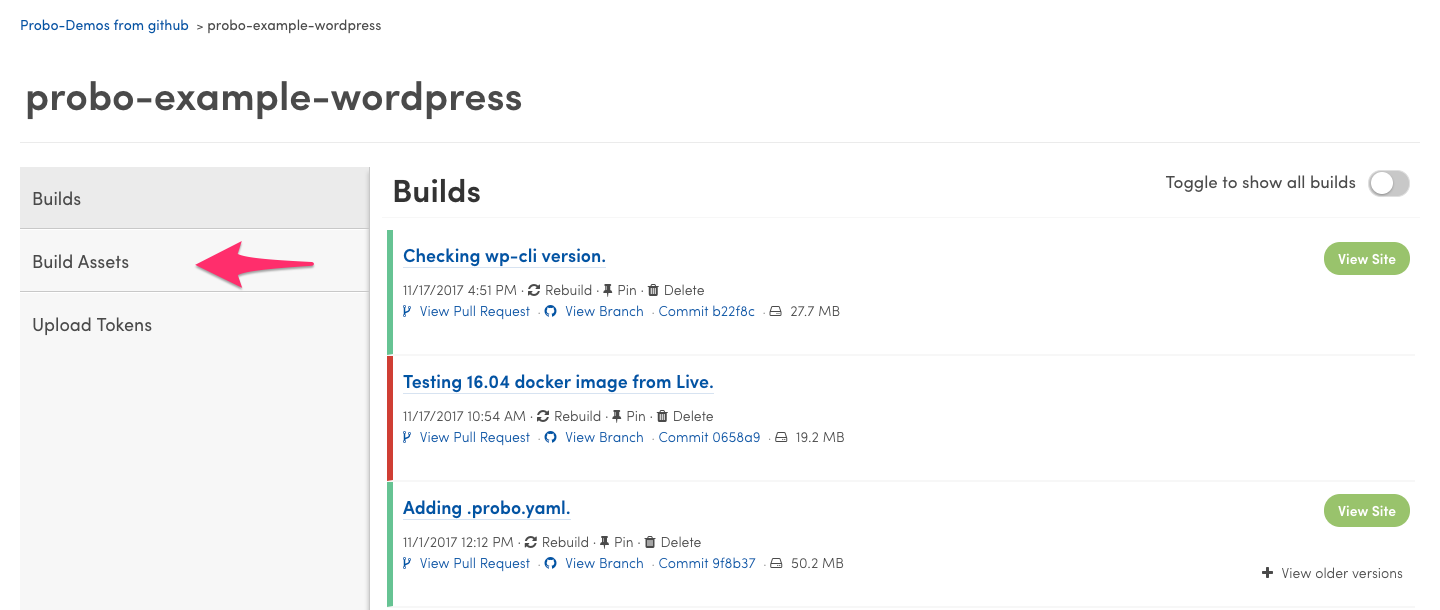
Upload a WordPress Database Asset
Once you have your repository enabled, you can upload a database asset. The database can either be in raw sql format, or gzipped as sql.gz. Upload the database asset on the Project page on the Build Assets tab shown below.
Note: There is currently an issue with the utf8mb4_unicode_520_ci database collation for our 14.04 images, so unless you want to find and replace that in your DB with utf8mb4_unicode_ci, go ahead and use one of our new nightly tagged 16.04 images such as the proboci/ubuntu-16.04-lamp:7.0-nightly image shown in the example code below.
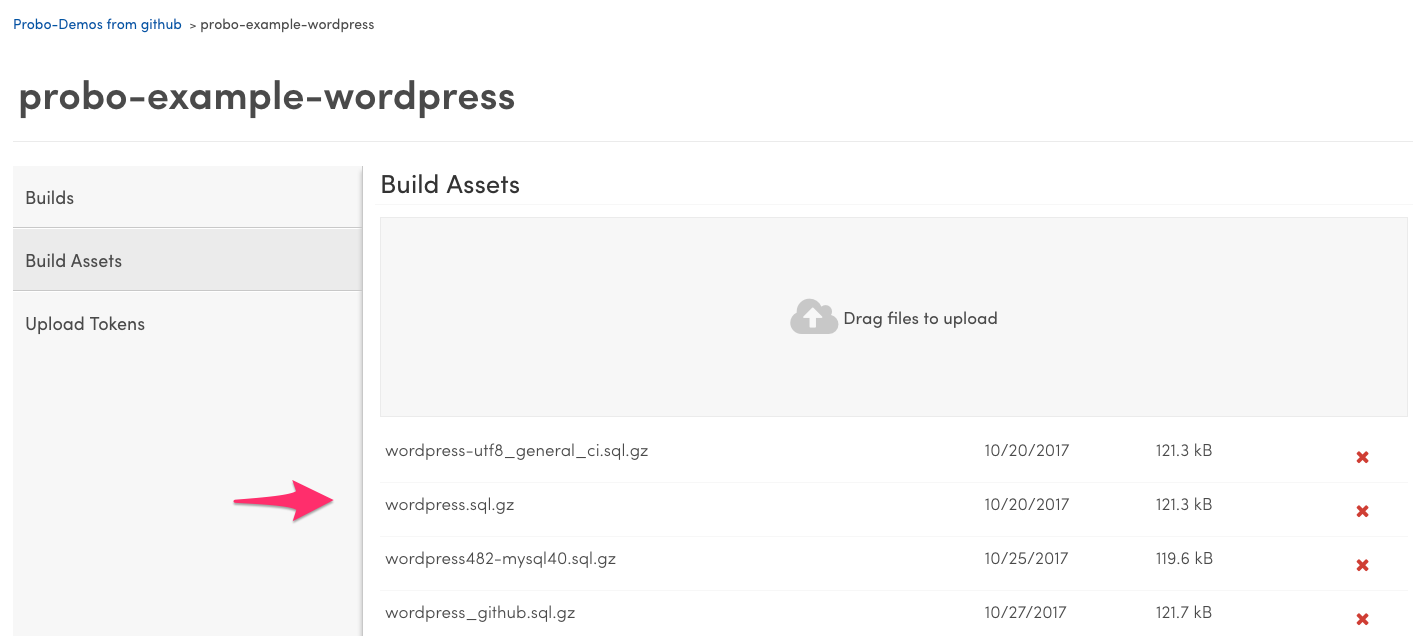
After selecting the Build Assets tab, you will be presented with a drag and drop interface to upload your asset, or you can click the “Drag file to upload” text to browse your local machine for the asset file. Once uploaded, your assets will display in a list on the Build Assets page, as seen below.
You can now start building a .probo.yaml file specific to your site’s Production environment.
Creating a .probo.yaml File for WordPress
Once you have set up your user, enabled your repository, and uploaded your database asset, you can start creating your .probo.yaml file. This file is the most important file of your Probo.CI for WordPress setup because it tells Probo what to do after your commits are pushed to your pull request. Without this file, or if the file contains invalid YAML, your Probo build will either fail or never kick off properly. Below you can find a generic .probo.yaml example file to enable Probo.CI for your WordPress site’s GitHub repository.
Special Note: Ensure to set the devDomain and devHome values to the URL of your WordPress site in your DB asset. In the following example code I am using http://wordpress482.local/.
image: proboci/ubuntu-16.04-lamp:7.0-nightly
assets:
  - wordpress_github.sql.gz
steps:
  - name: Wordpress site setup.
    plugin: WordPressApp
    database: 'wordpress_github.sql.gz'
    databaseName: 'wordpress'
    databaseGzipped: true
    subDirectory: 'code'
    devDomain: 'http://wordpress482.local/'
    devHome: 'http://wordpress482.local/'
    flushCaches: true
Once you have your .probo.yaml file saved and committed to your new feature branch, create a new pull request against your target branch to start your first Probo build. You should see something similar to the following screenshot under your pull request commits.
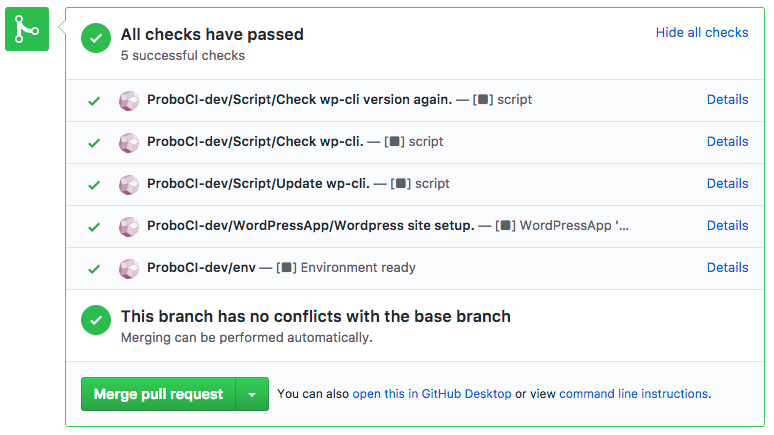
Did all checks pass? If not, click on the “Details” link of the step that failed. This will redirect you to the Probo build logs for that step to view the error response in more detail.
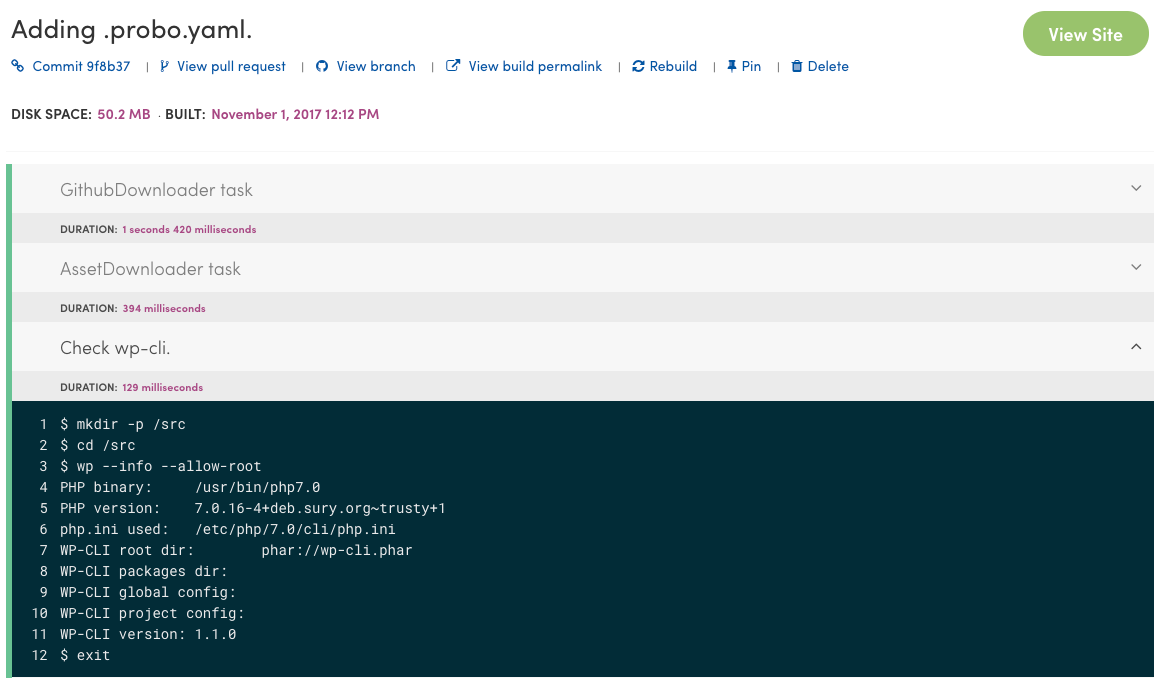
Click on the name of any of the other steps to view the logs for that step.
If nothing happened at all and you’re wondering where your Probo build steps are on GitHub, check to ensure your .probo.yaml file has valid YAML syntax with a YAML validator like the one I found by Code Beautify. If you have followed the guide up to this point and aren’t able to get your Probo build to run with valid YAML, join the Probo Slack Support Room and ask a question, or send us a message on Zendesk.
What’s So Great About Probo.CI for WordPress?
Incorporating Probo into your WordPress workflow can help you adhere to the best practices of modern web development. These best practices include using version control systems for all code, code review on new code or changes, and automated testing with continuous integration or continuous delivery. Probo.CI is a tool that utilizes all of these best practices to make WordPress development easier. It also leaves less room for human error.
You may be wondering why you should use this in your WordPress development workflow. Probo.CI provides a tool that utilizes the best practices of modern web development, including version control systems for all code, code review on new code or changes, and automated testing with continuous integration or continuous delivery. It makes WordPress development easier and leaves less room for human error.
Some of the features that Probo.CI brings to the table for WordPress development workflows are:
- A more seamless and unified workflow with continuous collaboration
- Isolated testing environments for each pull request
- A URL to send to stakeholders and team members for quick and easy QA
- Fewer errors in deployment with automated testing
Try Probo with a 30-day free trial. You won’t need to enter any credit card information until the end of your trial. You can integrate Probo with your GitHub or Bitbucket project and start testing builds today. Check out the Probo WordPress GitHub Quickstart tutorial or our Probo WordPress Bitbucket Quickstart tutorial for some example code to get you started.