Putting Your Probo and WPEngine Site Into Action
In our last post, we covered how to set up a WPEngine site using Probo. This post will walk you through how to use Probo once your initial site is set up.
Websites are always changing; whether it’s the product owner who had something different in mind or the design team who decided the color scheme wasn’t quite right, you’ll likely need to make changes to your initial site. And more importantly, you’ll need to show your work to the person who requested it to make sure it looks or behaves as they expect.
This step-by-step guide shows how I handled our CEO’s request to change the heading font color from white to maroon.
Begin by locating the CSS that you need to change. In my case, I was working in Google Chrome, so in order to find the CSS that I needed to change I used Chrome’s “Inspect” feature. (For more information on what you can do with Inspect, check out this article from Google.) To find the right CSS, right click on the header and inspect the code for the color. Once you’ve located the code, copy it.
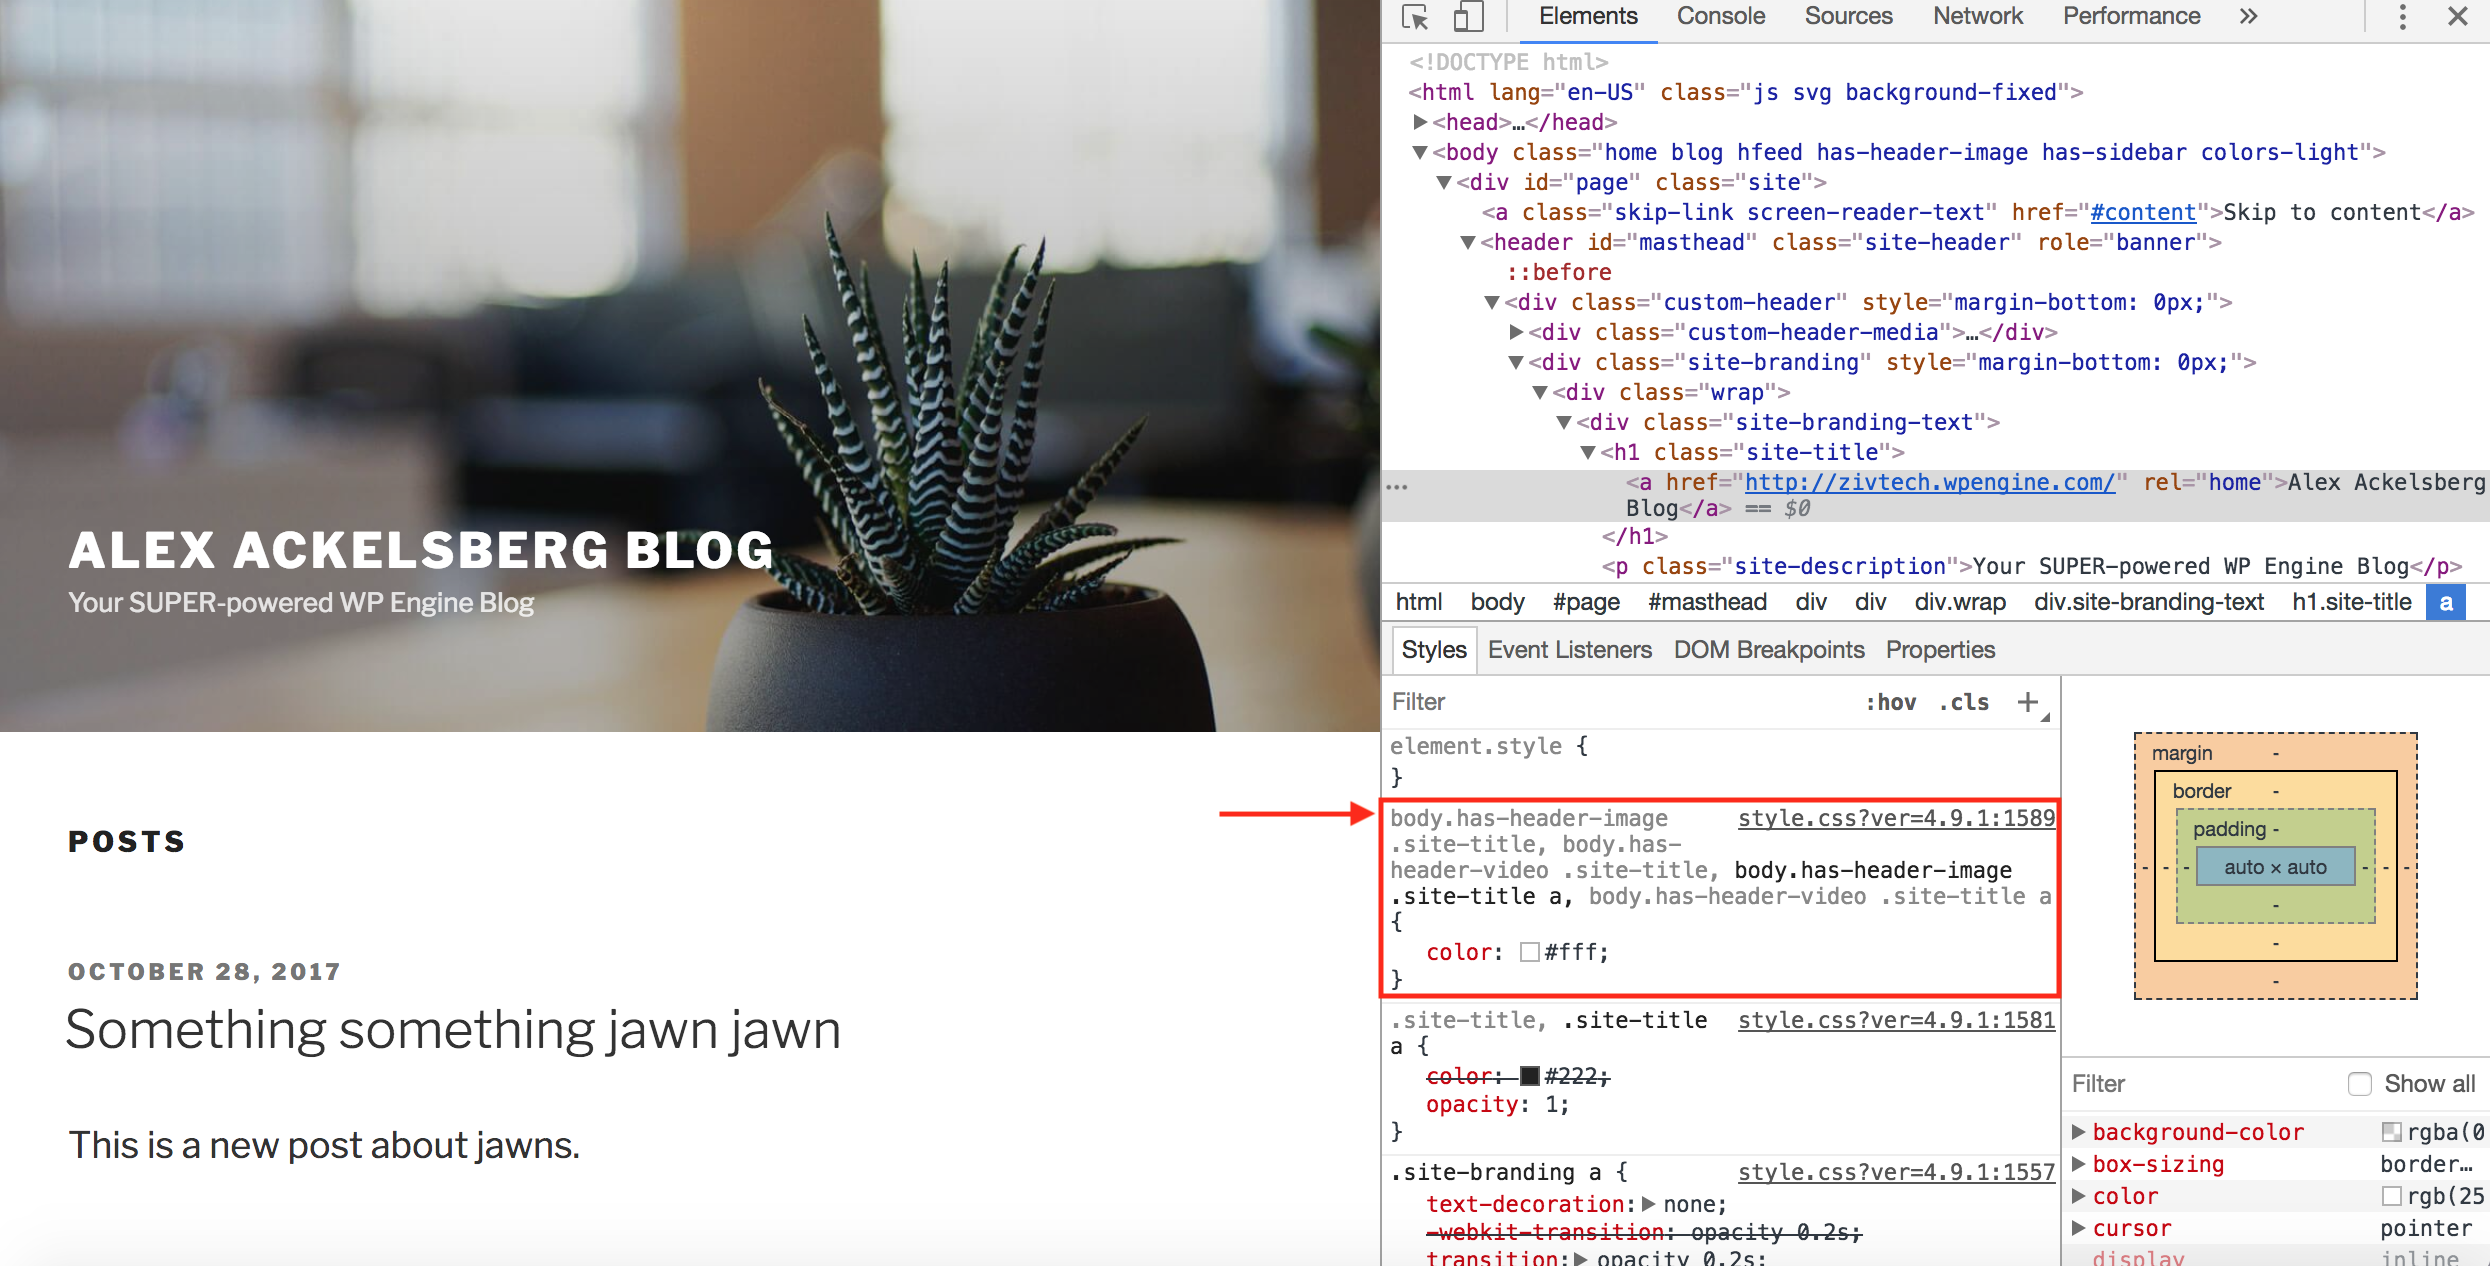
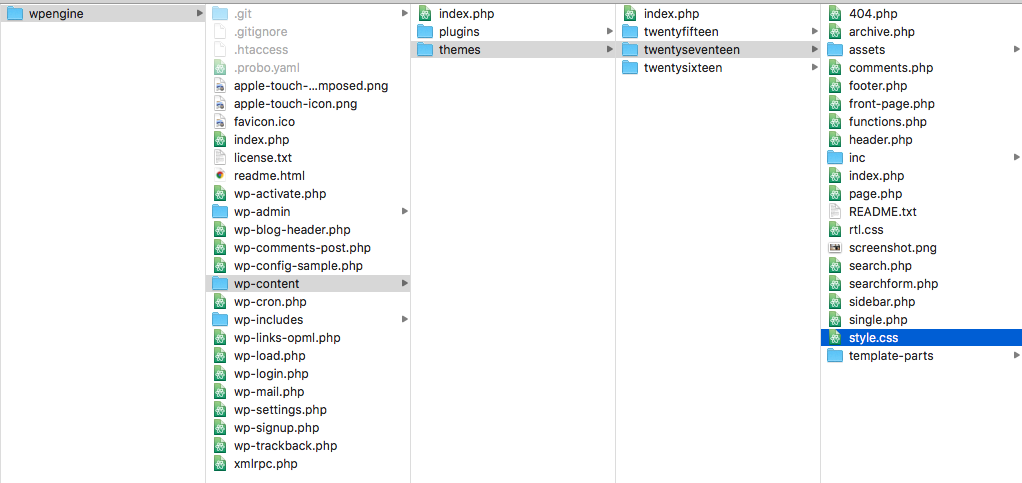
Next, go into GitHub and find your file containing the heading color code. You’ll see in the “Inspect” window, the code is located in style.css. In this case, our file is located under wpengine/wp-content/themes/twentyseventeen/style.css.
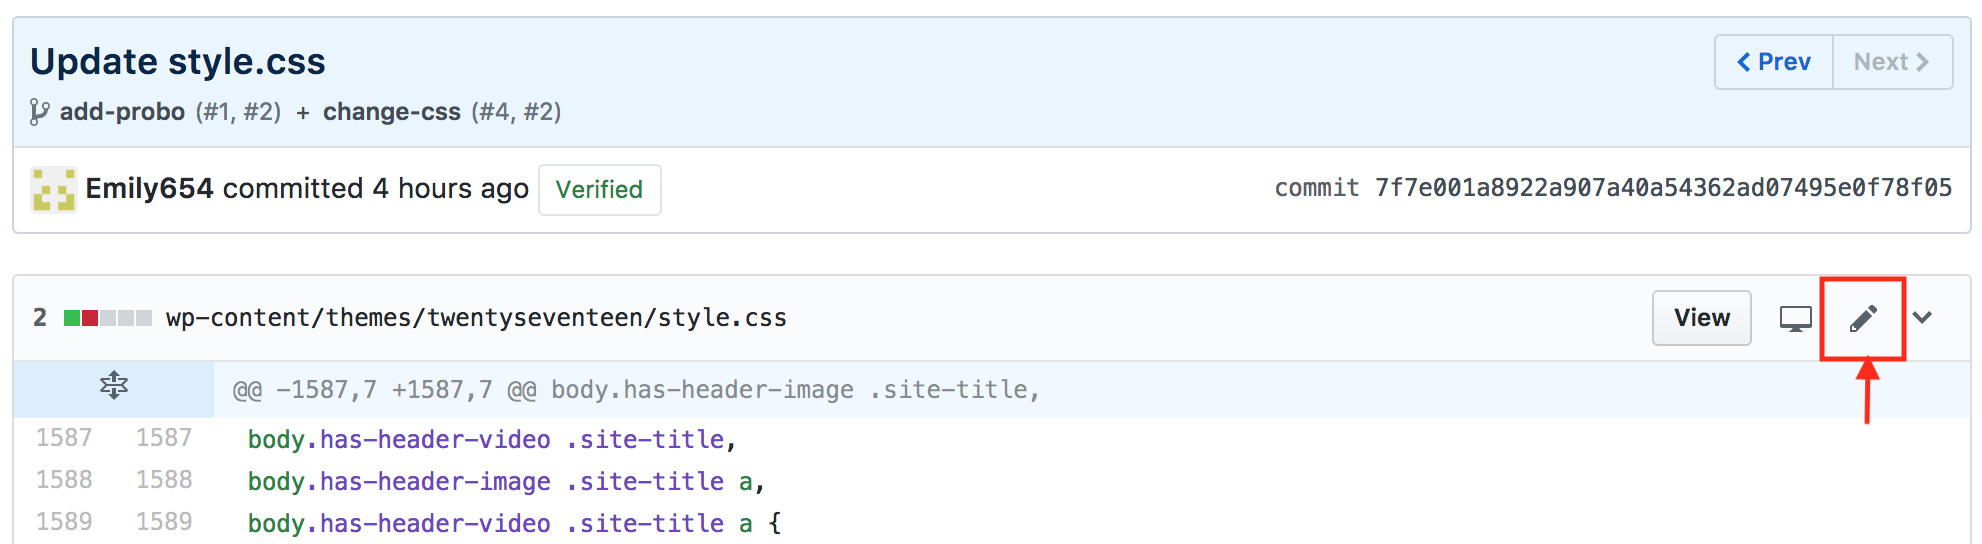
To access your GitHub text file and make edits, click on the pencil in the top right corner of the text box.
Now paste the code for the heading font color and search for it in your GitHub text file using Command F:

In this case, we located it on line 1586:

Replace your desired HTML color where the current color HTML code is. If you’re not sure what the HTML code for the desired color is, just do a quick Google search. In this case, maroon is #800000, so the change would look like this:
body.has-header-video .site-title,
body.has-header-image .site-title a,
body.has-header-video .site-title a {
-    color: #fff;
+    color: #800000;
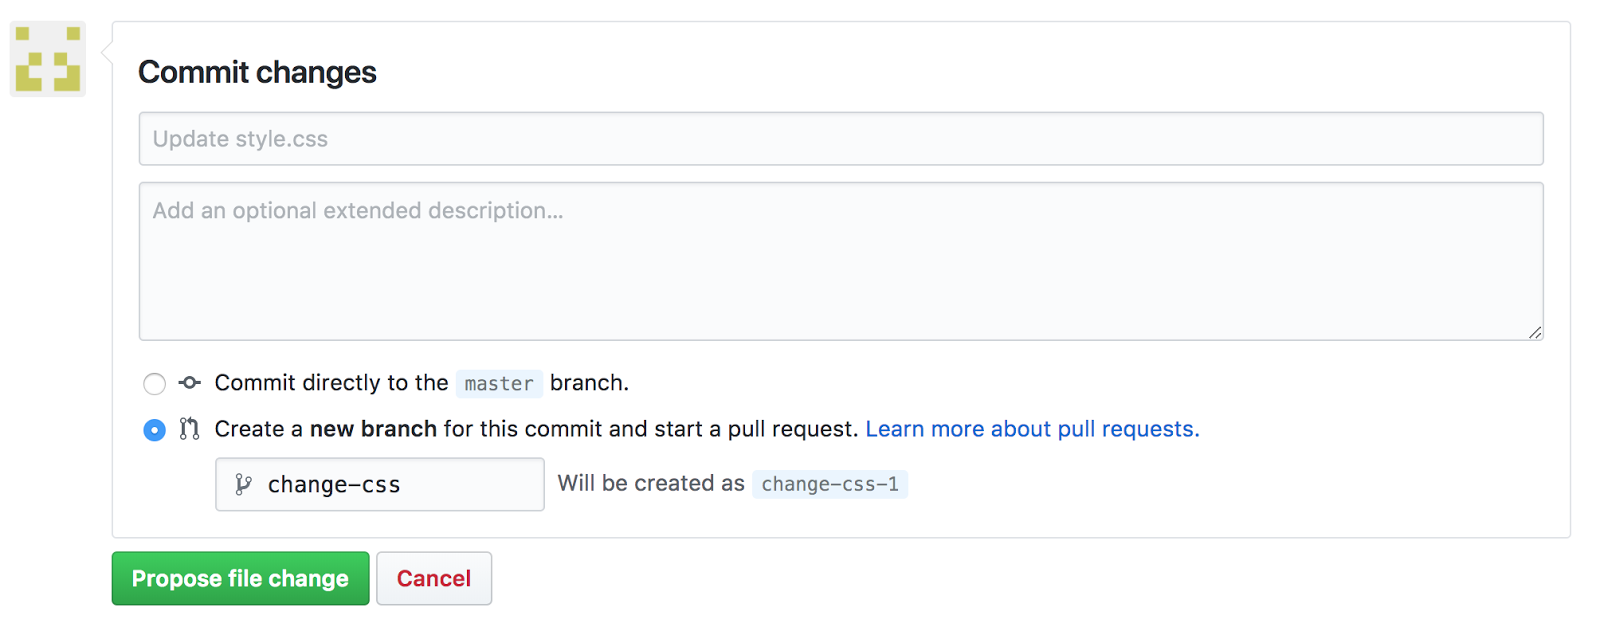
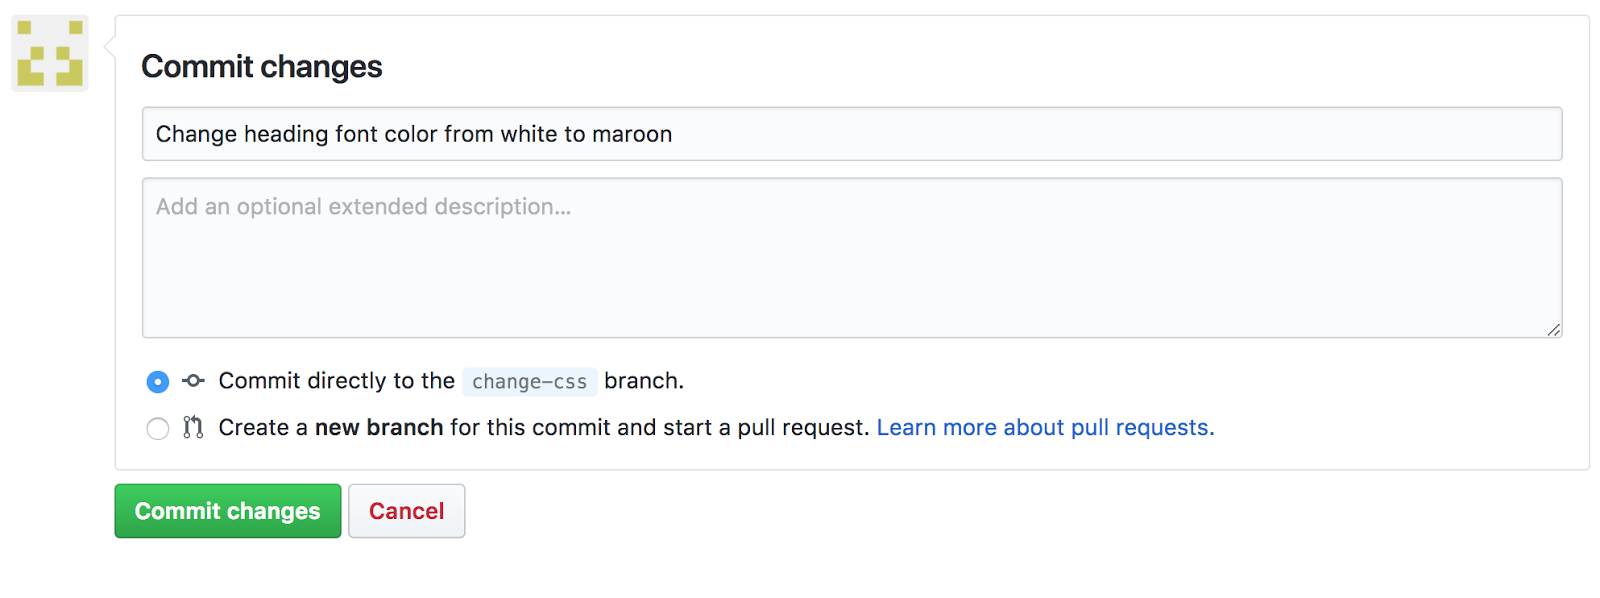
Once you’ve made these changes, you need to commit the changes by creating a new branch and starting a pull request. This can be found directly under the editing window. Give the branch a new name (in this demo we’ll call it the change-css branch) and click the green “Propose file change” button.
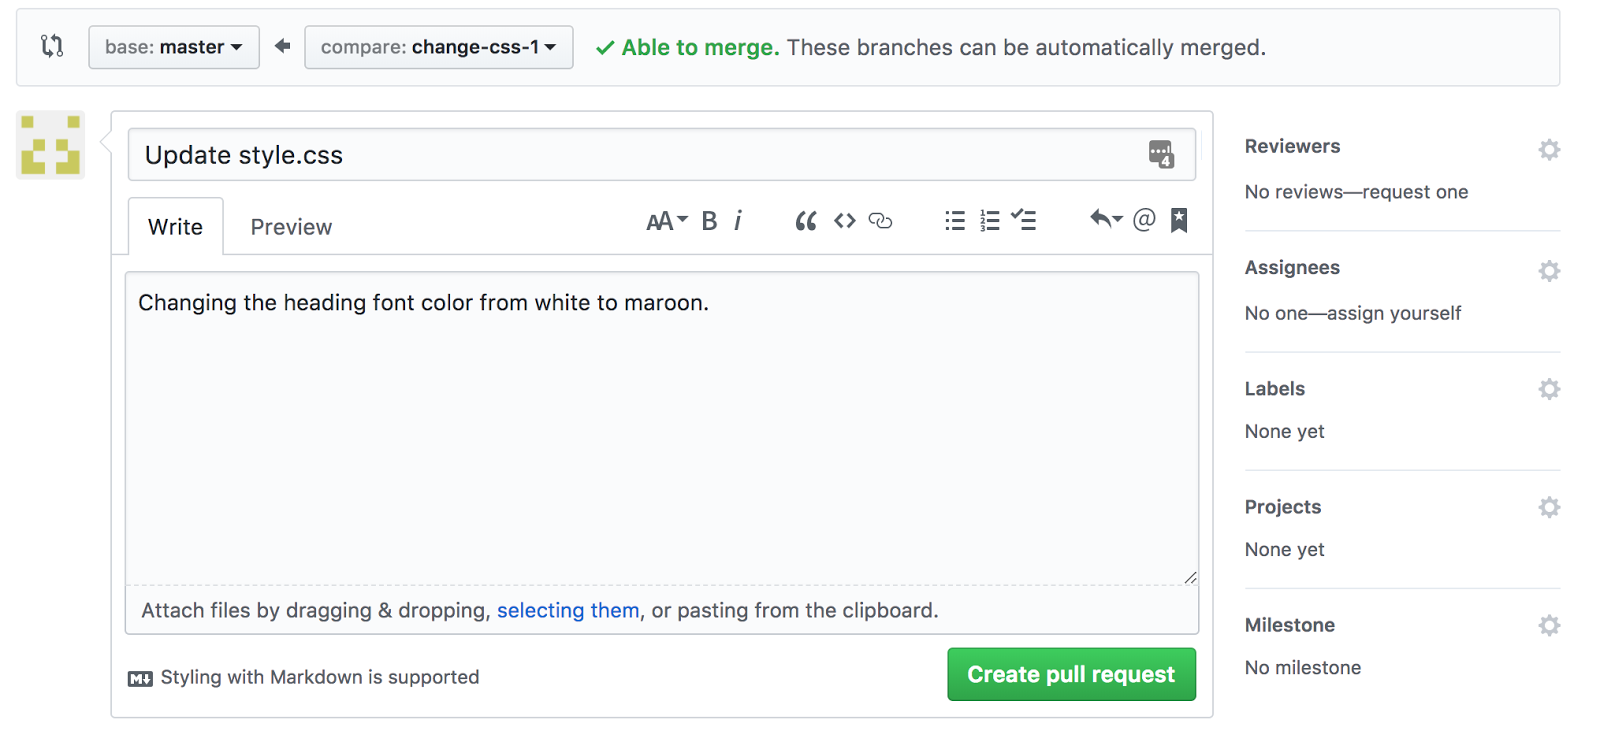
On the next page, add details of why you’re suggesting the change and press the “Create pull request” button.
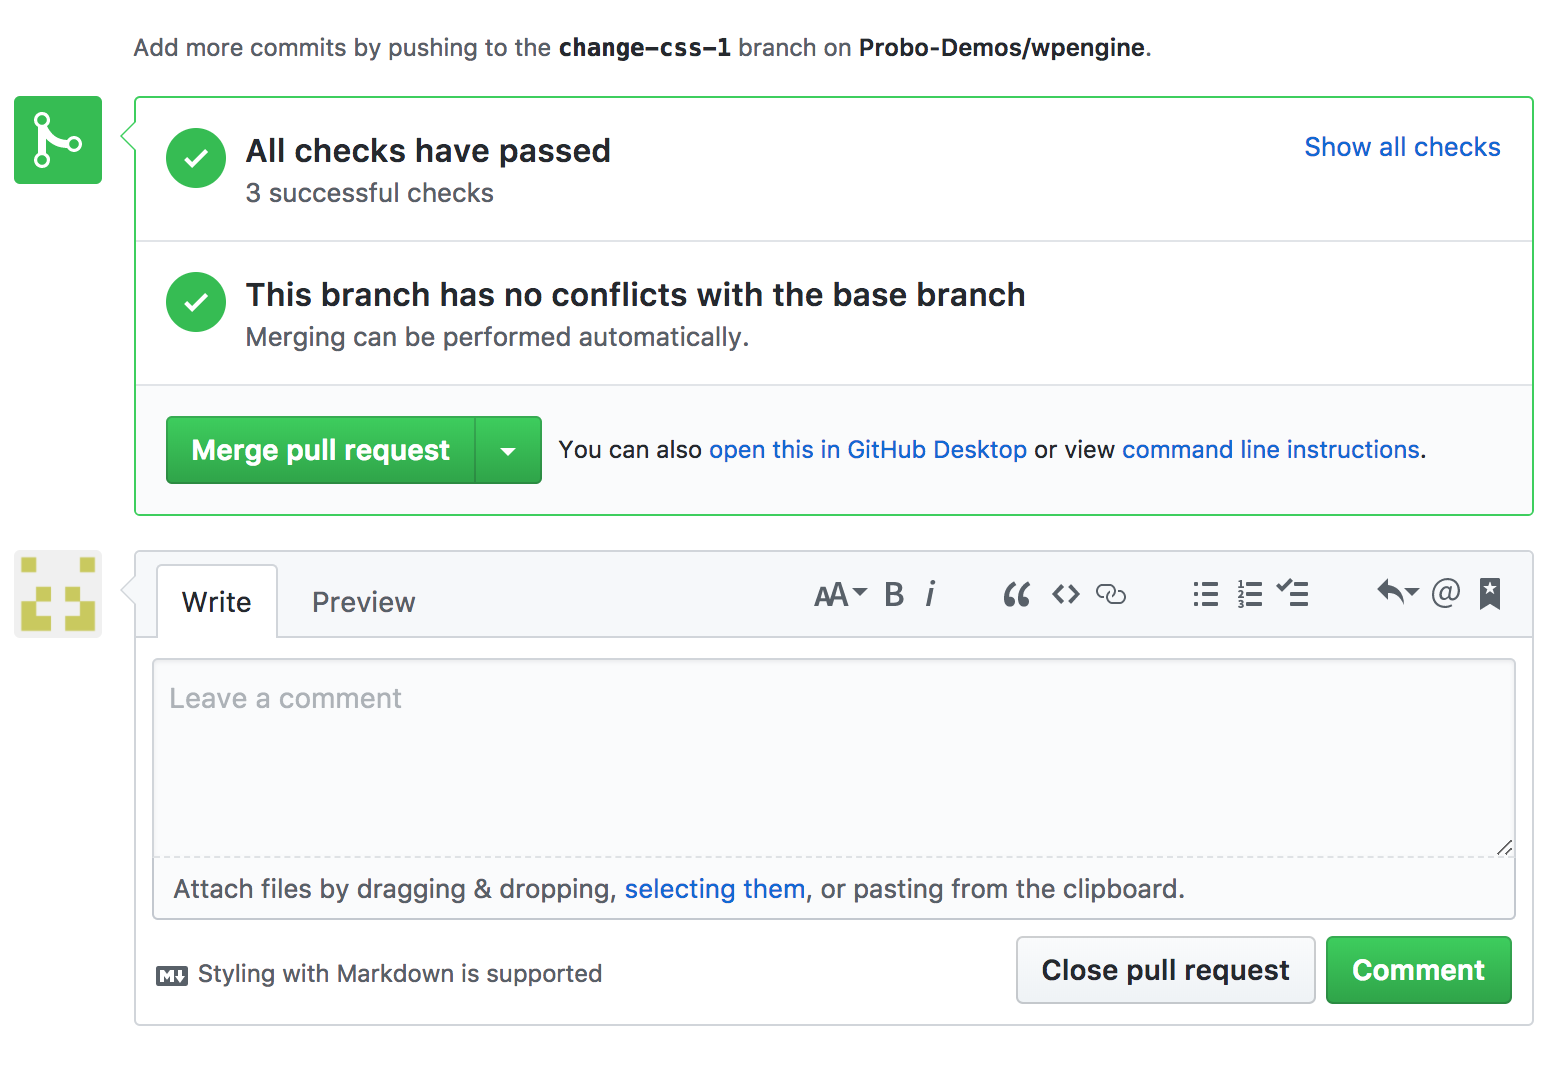
Probo will begin to automatically build your site so you can test the change. Once your site is finished building it will say “All checks have passed.” You can look into each individual check by clicking “Show all checks.” Clicking “Details” from any of the Probo checks will bring you over to the Probo website.

Clicking “Details” will also show you further information about your build.
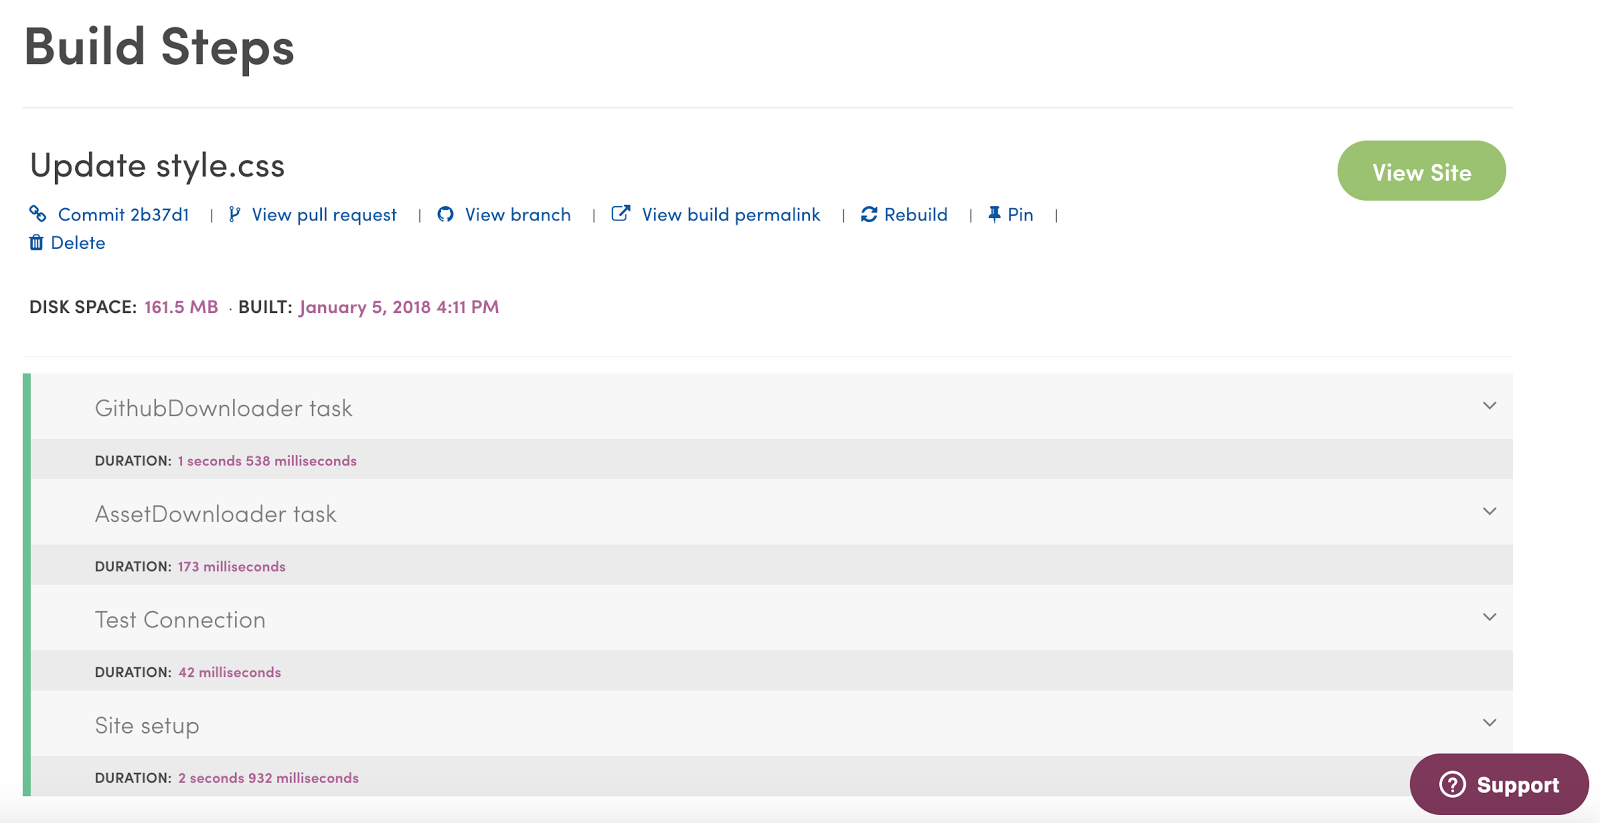
Click “View Site” to see the version of your site with the change which you can then share.

If you need to make more changes, go to the same pull request you just created and make edits. You can then commit the new changes directly to the same branch (in this case, it would be the change-css branch).
I found the comment feature useful as well, since I was able to communicate with other team members during the process to decide what color looked best. I made another change to purple and our design team decided that was the best color choice.
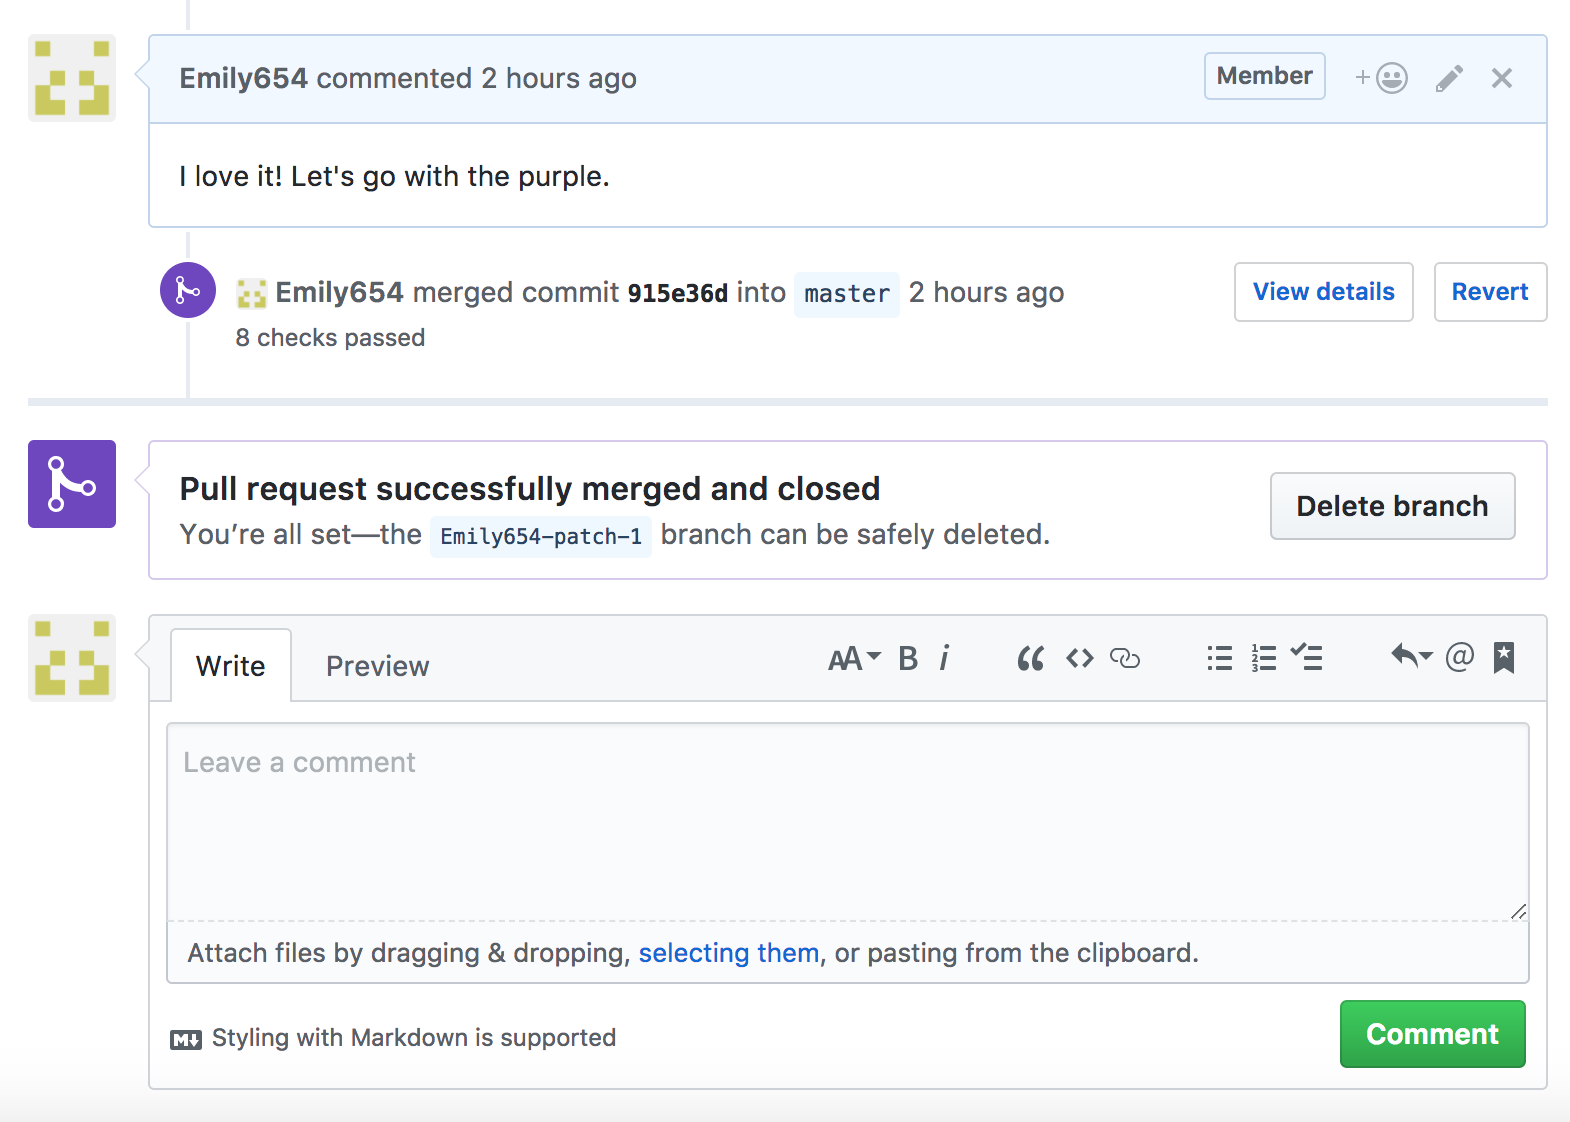
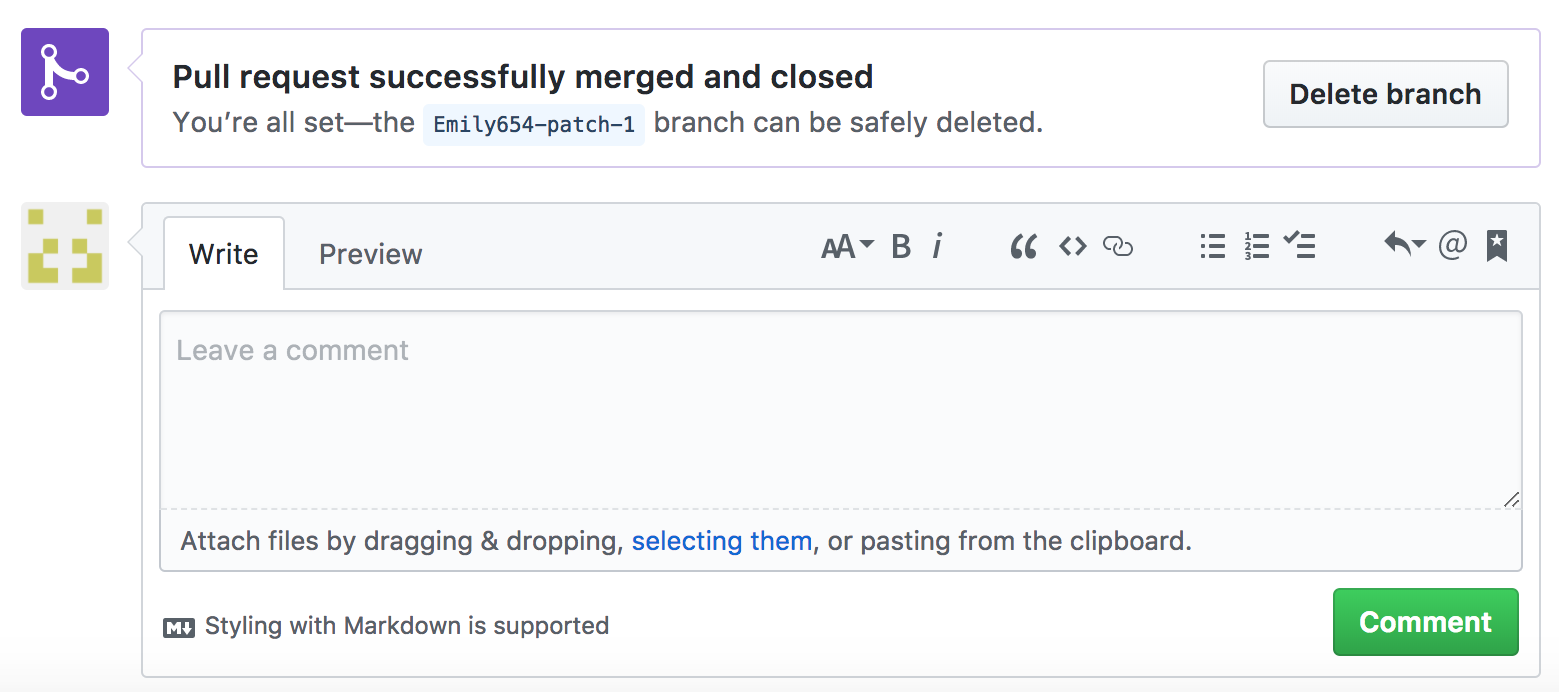
After all checks pass and you are satisfied with your changes, click “Merge pull request” so that your branch becomes part of the master branch and it can be pushed back to your WPEngine site. Once the pull request is successfully merged, the branch can be deleted.
The last step of the process will be to deploy. You can find instructions on how to do so here.
Of course, you can make any change you want to your site, not just font color. For other changes, the process will be very similar. Try it out yourself and let us know if you have questions!